How to add custom Center Of Gravity to any Unity GameObject
4 min readMay 5, 2021
In Unity, all the physics is handled by the Rigidbody Component. Generally, the Center of Gravity of an Object is calculated by the Rigidbody Component based on the existing colliders that are present on the GameObject.
This will be a short yet in-depth, step by step,procedure to add a custom Center of Gravity to any GameObject as your need.
Prerequisites:
- Unity 2017.x or better
- Visual Studio/VsCode (I will be using Visual Studio to demonstrate)
- Basic Understanding of Unity Editor and C#
Let’s get started.
- First Open Unity Hub and Create a New Project

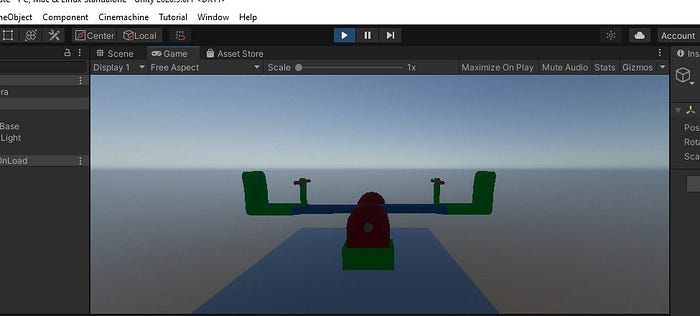
- After the Project is created, import/create the GameObject that you want to customize. I will be using a “seesaw” model, as it will be easier to demonstrate the center of gravity is being changed on this model.
You can get the model here, https://assetstore.unity.com/packages/3d/characters/9t5-low-poly-playground-102503

- If the model you imported has colliders included in it, you are good to go and skip to the next part. As, I don’t have colliders with this specific model I will add two box colliders in this model, one for the base and one for the upper portion.


- Now, let’s add the Rigidbody Component to the GameObject. Select the GameObject, Go to the inspector, and click to the Add Component Button, and Select Rigidbody


- Now if we hit play, we will see that the “seesaw” stands still as our Rigidbody Component has calculated the Center of Gravity from the Colliders.
- Now let’s add our custom Center of Gravity. To add custom Center of Gravity let’s add a new empty GameObject and call it “COG”

- Now, Let’s assume we want the Center of Gravity to be on the left side of the model. So, select the Move Tool and place it on the left of the model.

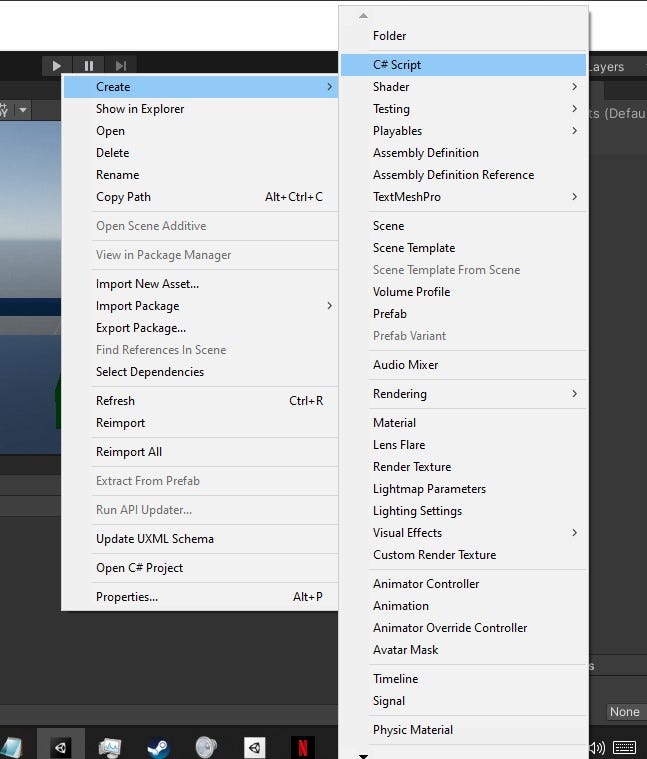
- Now, all we need to do is to code and attach this “COG” as the Center of Gravity of the model. For that create a new Script and Call it, let’s say “CustomCenterOfGravity” and open it on Visual Studio/Vscode.
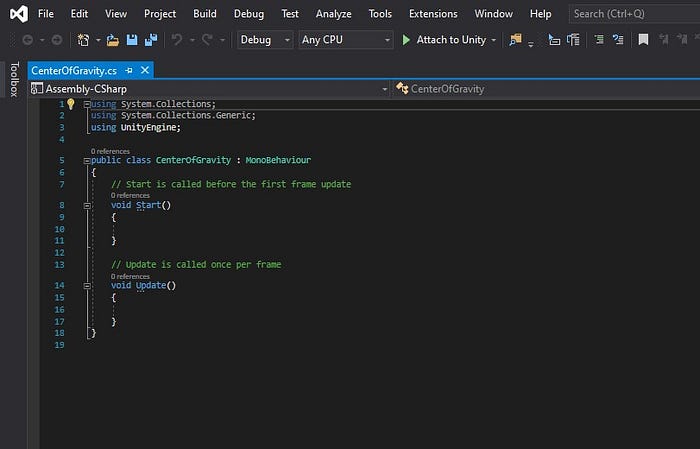
- We will access the Rigidbody Component of the 3d “seesaw” model with this script and set the Center Of Gravity of the Rigidbody to the location of the “COG” Gameobject that we created.
So, let’s first create a public variable Rigidbody and name it rb. and get a reference of the Rigidbody component from the Gameobject on the Start Method. Also, we need to create another variable of transform type that will hold the transform information of the “COG” GameObject.
using System.Collections;using System.Collections.Generic;using UnityEngine;public class CenterOfGravity : MonoBehaviour{    private Rigidbody rb;
    public Transform centerOfGravity;// Start is called before the first frame update    void Start()    {        rb = GetComponent<Rigidbody>();    }}
- Now, we will check if the centerOfGravity variable is null or not. If it is not null then we will assign the center of gravity of the Rigidbody Component of our 3d model to the location of our “COG” GameObject.
using System.Collections;using System.Collections.Generic;using UnityEngine;public class CenterOfGravity : MonoBehaviour{    private Rigidbody rb;    public Transform centerOfGravity;// Start is called before the first frame update    void Start()    {        rb = GetComponent<Rigidbody>();        if (centerOfGravity)        {            rb.centerOfMass = centerOfGravity.localPosition;        }    }
}
- Here we accessed the centerOfMess of the 3d model with “rb.centerOfMass” and assigned it to the local position of the “COG” GameObject with “centerOfGravity.localPosition”
- Now, all we have to do is assign the script to the 3d model first and then assign “COG” GameObject to the centerOfGravity variable of the script by dragging and dropping it on the inspector.
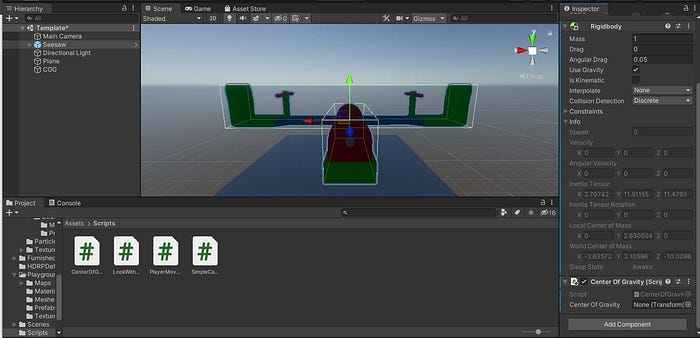

- And that’s it, the CenterOfGravity is now changed. It is now on the location of the “COG” object.
So, this is how you can change the “Center of Gravity” or “Center of Mass” of any GameObject and set it as your wish on Unity. Hope it helps.